Tyr Rook
The wall-building medium — turret armor that holds, lower hull that folds, and the energy to trap enemies who pushed too far.
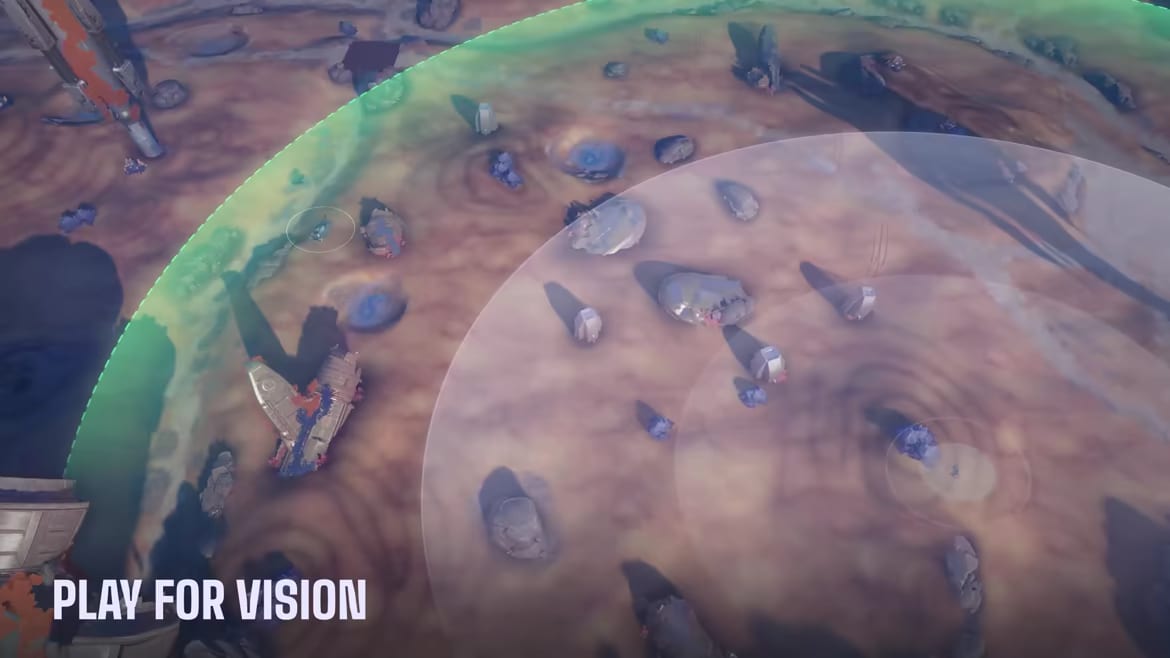
Rook is the medium that builds walls. Not metaphorical walls — it literally deploys a physical barrier that covers the half of the hull everyone normally shoots. At 21% camo and medium armor, Rook is not hiding from anyone. What it is doing is holding angles, blocking sightlines, and using the wall to make the enemy’s green shots miss while it returns fire from behind the barrier. Parent roster: medium tanks hub. Rankings: medium tier list.
The wall ability
When activated, Rook deploys a wall in front of itself. The wall covers the lower half of the hull — the half that is fat, flat, and easy to penetrate on most mediums. While the wall is up, enemies shooting at Rook are shooting at a turret and upper hull that is genuinely well-armored. The lower half, which is the easy target, is behind the barrier.
The wall also has energy properties. Rook can use the wall energy to box enemies in — if an enemy is pushed too far forward and you drop the wall in front of them, they are now behind a barrier with no easy exit. This is not a kill tool, but it is a repositioning tool. You have turned a push into a trap.
Turret armor vs lower hull
The community’s description is accurate: turret armor is genuinely tough, lower hull is fat and easy to penetrate. This is the fundamental tension of playing Rook. If you sit flat, the lower hull is a green-painting rectangle that every medium and heavy can punch through. If you angle and present the turret, you have a real fighting chance.
The wall covers the lower hull. That is the value proposition. Use the wall to hide the weak half while you shoot from behind it with the strong half.
How to play Rook
Rook is a lane holder and an angle controller. You want to be in a position where you can deploy the wall, shoot over it at the enemy, and not be easily flanked. The wall is not a permanent fixture — it is a tool for the moment when an enemy is committing to a push and you need the lower hull protected.
Energy shells are the default shell choice. You want the reload assist bonus, and at 21% camo you are not pretending to be invisible. The shell that helps you reload faster is more valuable than the shell that might give you one extra shot before being spotted.
Camo and survivability
At 21% camo, Rook is in the Tempest band. You are not invisible, but you are not Arbalest at 9% either. The medium armor means you can take one mistake without evaporating, but you cannot tank a heavy’s clip. The wall is your survivability tool — use it when you are taking fire, not as a pre-emptive opener.
Common mistakes
Deploying the wall too early and having it on cooldown when you actually need it. Sitting flat instead of angling to present the turret. Using the wall as an aggressive tool instead of a defensive one. Forgetting that the wall blocks your own line of sight in some positions — you cannot shoot through your own wall.
Builds and SLVR priority
Buy the wall duration and deployment speed upgrades first — the uptime and reliability of the barrier are the hull’s core value. Turret armor components that make the upper hull harder to pen are also worth prioritizing. Energy shells are the default. See builds for the full loadout. Compare with Tempest if you want Recall instead of a wall, or with Tricera if you want smokescreen instead of a wall.
Maps: Rook is best on maps with defined lanes and chokepoints — the wall is most effective when enemies have to push through a constrained space. Scorch’s lanes and Ravine’s approach corridors are natural fits. Divide is workable if you control a lane with a natural angle. Maps.
Frequently Asked Questions
Quick answers for new Tyr pilots and returning playtesters.
What does Rook's wall ability do?
Deploys a physical barrier covering the lower hull. Enemies shoot at the turret and upper hull, which are genuinely well-armored, instead of the easy-to-penetrate lower hull.
Why is Rook's lower hull weak?
It is fat and flat, making it an easy target for green shots. The wall covers it. Without the wall, you need to angle to present the turret instead.
Can Rook use the wall offensively?
Yes — you can deploy it in front of an over-extended enemy to trap them. The wall energy boxes them in with no easy exit. It is a repositioning tool, not a kill tool.
Is Rook a good beginner medium?
Yes. The wall is intuitive, the turret armor is forgiving, and the role (lane holder) is straightforward. Easier than Recall micro or ramp geometry.
What is Rook's camo rating?
21% — same band as Tempest. Not invisible, but not loud like Arbalest either. Energy shells are the better default at this camo level.